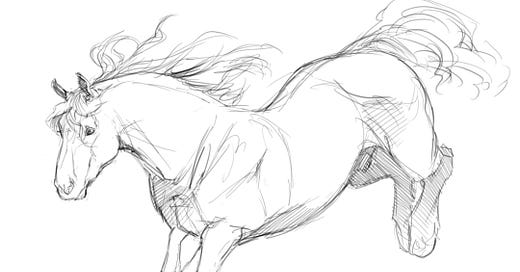
Join the #CC_DIYChallenge and show your inner artist!
One of the biggest challenges we face as creators is figuring out how to start our project. Things like coming up with ideas or deciding on one can be troublesome, but they are never as frightening as a blank slate. After revisiting my journey as a creator, I realized that taking a different approach to starting a project can make it less frightening – and that’s how this article was born.
I’ve become fully immersed in chemistry over the last year. I have chemical equations and rules written all over my notes, lab-related tabs pinned to my laptop and tablet, and an endless supply of pictures of step-by-step instructions in my smartphone. I’m literally surrounded. One of the reasons I need this many “mini-reminders” and “step-by-step breakdowns” is because it is easy to miss something when you’re focused on the end result. When I realized that this method could also apply to creative projects, it only seemed like a natural fit.
To better explain what I mean by “breaking down” your project, I invite you to join us in our little activity — a drawing challenge – where we will draw a horse together. All you need is a pencil, eraser, pen, cotton swab, and a sheet of paper.
Do you struggle to find your starting point? Do you struggle to keep your lines from bending? Do your pictures look wrong, no matter how hard you try?
Veterans, like beginners, can easily have a hard time when they do not practice, but drawing can be easily learned or remastered through practice. Remember, no two drawings are the same even when done by the same artist. So, are you ready to give it a try and show your inner artist?
Looking for shapes and lines
Our world is made of shapes, and so, you can find them anywhere. For any drawing, it’s always best to begin by using basic shapes to create the outline of your drawing before adding more details. And remember, in this section of the tutorial we are “sketching” our horse, so remember to do soft strokes with your pencil.
Step 1: We start by drawing three circles to represent the main body. The circles will slightly overlap each other and go higher as you draw them.
Step 2: Draw two smaller circles for the horse’s head. The top one is twice as big as the bottom one and at around the same height as the highest of the first three circles.
Step 3: Draw lines to outline the legs. On top of the lines, draw circles: one at the beginning, the middle where the knee would be, and at the end of the leg connecting them all with lines. Notice that for the hind legs (back legs), since the horse is jumping we just make a long circle.
Step 4: Form the head by connecting its two circles with a line. Next, connect the head to the lowest circle of the body with arched lines.
Step 5: Draw an oval on top of the head as a guide to draw the ears. Then, form the back of the horse with arched lines.
Outlining the Horse
At this stage, you have laid most of the groundwork. Now, it’s time to outline the full shape of your horse. Keep in mind that outlining doesn’t necessarily follow your general sketch exactly. Moreso, the lines serve as a guide. In the same way, outlining does not mean limiting yourself to straight lines, but using curved and dotted lines where they can shine their best. For example, curved lines are best used to outline the horse’s mane while dotted lines can highlight movement.
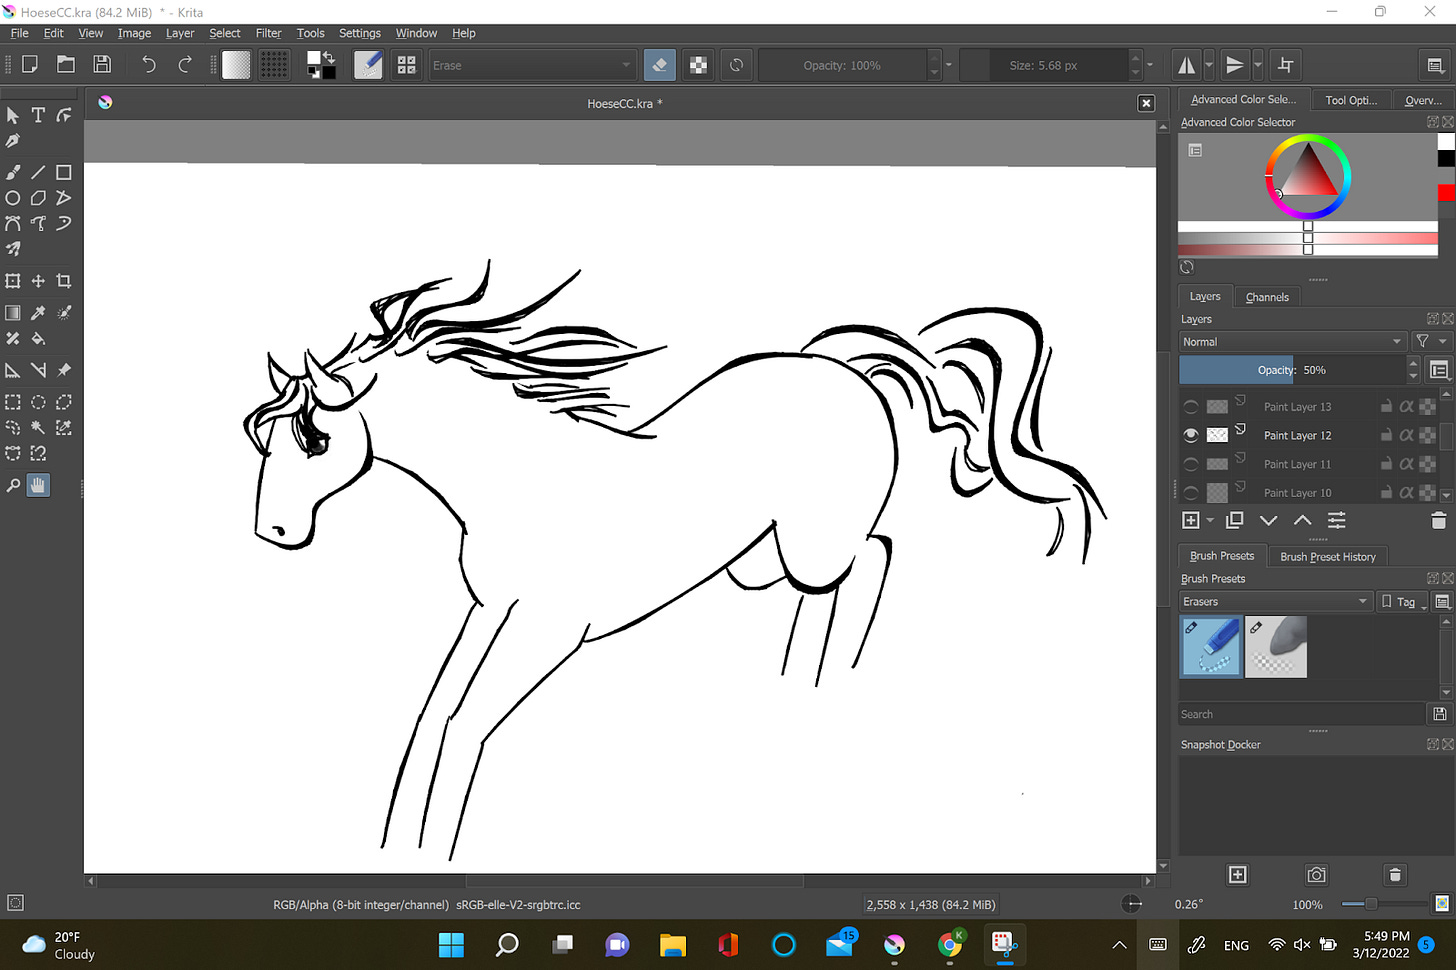
Step 6: Start by outlining the head and the legs with a pen. Then, continue with the neck and the back.
Step 7: Use wavy lines to draw the mane and tail. Feel free to experiment with the lines and see which lines create the effect you wish to make.
Step 8: Draw the eye using a small circle and use shading to make the pupil.
Step 9: With your outline complete, erase all the pencil lines.
Adding details
We have finally arrived at the final stage. With the outline of our horse complete, our drawing is now much clearer, and this allows us to add more details, such as lighting and texture, in a more efficient way. Of course, if you’re satisfied with your work you are more than welcome to stop here. If not, feel free to continue.
Step 10: Add a combination of curved or straight lines to create a sense of muscle texture and shadow. Normally, these follow the muscles of the horse but if you’re not familiar with them feel free to follow the image.
Step 11: Draw lines with your pencil throughout your horse in the areas where there would be shade. Then, with your cotton swab, gently rub it against the paper to blend in the lines and create a shadow-like effect. To add more muscle definition, draw more cross-hatching and curved lines with your pen. Use your eraser to erase unwanted shading.
Remember that you can add as little or much detail as you want.
Congratulations!
You’re amazing for completing this tutorial. I hope this tutorial has inspired you to learn and expand your drawing skills. Hopefully, you have grown your confidence in starting your own projects. Feel free to share your artwork with us at #CC_DIYChallenge on Instagram, and tag @cornellcreatives in your post. We are looking forward to seeing them!


